How to Make a Mood Board
My collaging evolution + a DIY guide (including where to source great images!).
I’m a mood board kind of gal. At thirty-five years old, I’ve been at it for a few decades. Today’s post is a brief overview of my mood board evolution and a complete DIY guide for creating an elegant canvas wrapped board to host your dreams and visions. It’s simple, budget friendly, and endlessly inspiring. I’ve also included my top tips for sourcing quality artistic images and other bits/bobs to help you create a meaningful and curated masterpiece.
I think I love mood boards so much because they present themselves as art pieces but secretly hold memories, meaning, and aspirations. Effortlessly adapting to the seasons and chapters of our dreams. They allow us to surround ourselves in all our favourite things without the clutter of physical objects. Sometimes having a photo of an item you wish to own (say a fancy handbag) is enough to satisfy the desire. You get to enjoy the benefit of its beauty without making the purchase. I think they’re a fun way to express creativity and manifest the worlds we wish to live in.
Before we dive into the creation of these brilliant boards, I want to share what collaging has looked like for me over the past twenty-something years:
1998: It all started with glue sticks and poster boards. An innocent elementary school obsession that involved Spice Girls posters and colouring book pages.
2004: As a daring teenager I decided to collage the enter ceiling of my bedroom. This was a mighty task involving hundreds of magazine clippings, a kitchen chair, and the staplers from our family computer room. By the end of my installation process, I had completely ruined both staplers (and my neck) but it was a glorious victory. I felt like Michelangelo painting the ceiling of the Sistine Chapel. The only terrible part was removing the thousands of staples when I moved out—that sucked.
2011: The year of my first Macbook and signing up for a Pinterest account. Turning my collaging digital was such a novel and exciting experience. Images were free and abundant—I felt so high-tech categorizing and theming multiple boards at once.
2019: Ironically, Canva’s magical ‘remove background’ button (that advanced the mood boarding world) was launched the same month the worldwide pandemic began—undoubtedly resulting in a creative renaissance. I love this feature and still create a digital collage for every Monthly Edit I publish.
2024: I started craving the earlier days of mood boarding. I wanted to access my visions without opening my laptop or looking at my cell phone. There’s something about the physical nature of cutting and organizing images that holds power for me. It didn’t take long for me to realize: I would like a mature, artistic, large scale, and affordable pin board for my office wall.
After several hours of searching online, I found a few good options but nothing that met all my requirements. So there I was last Saturday morning, eating breakfast and plugging away at the NYT spelling bee with Scott, when
I went to the local hardware store and picked up the supplies for around $80 (that’s $58 USD for scale). Thankfully, we already had all the tools required for the job. It took most of the afternoon, a bit of patience, and some help from Scott—but I’m so proud of the outcome. I made myself a beautiful canvas wrapped 5ft x 3ft pin board (full instructions below) and had enough supplies left over to make several other boards that I will likely gift away or sell on marketplace. I can’t wait to update and refresh the designs as inspiration strikes. I’ll be installing it on the wall this weekend and sharing the mounted result in my upcoming monthly edit.
Particle Board (1/4 inch)
Foam Insulation Sheet (1 inch)
Canvas Drop Cloth
Staple Gun + Staples (3/8 inch)
Iron, Scissors, Tape Measure
Decide on your wall and measure out the perfect sized mood board for your space.
When purchasing the particle board and foam at your local hardware store, get them to cut these into your custom size(s). They come in large slabs so I was able to make myself multiple boards (a 5ft x 3ft office board + another 4ft x 3ft board + a few smaller 1ft x 1ft boards).
Use the spray adhesive to glue the foam to the particle board.
Cut your canvas into the size that will match your board(s) and leave a 5+ inch border on all sides for stapling. Iron your canvas to smooth out any wrinkles and lay on a flat surface.
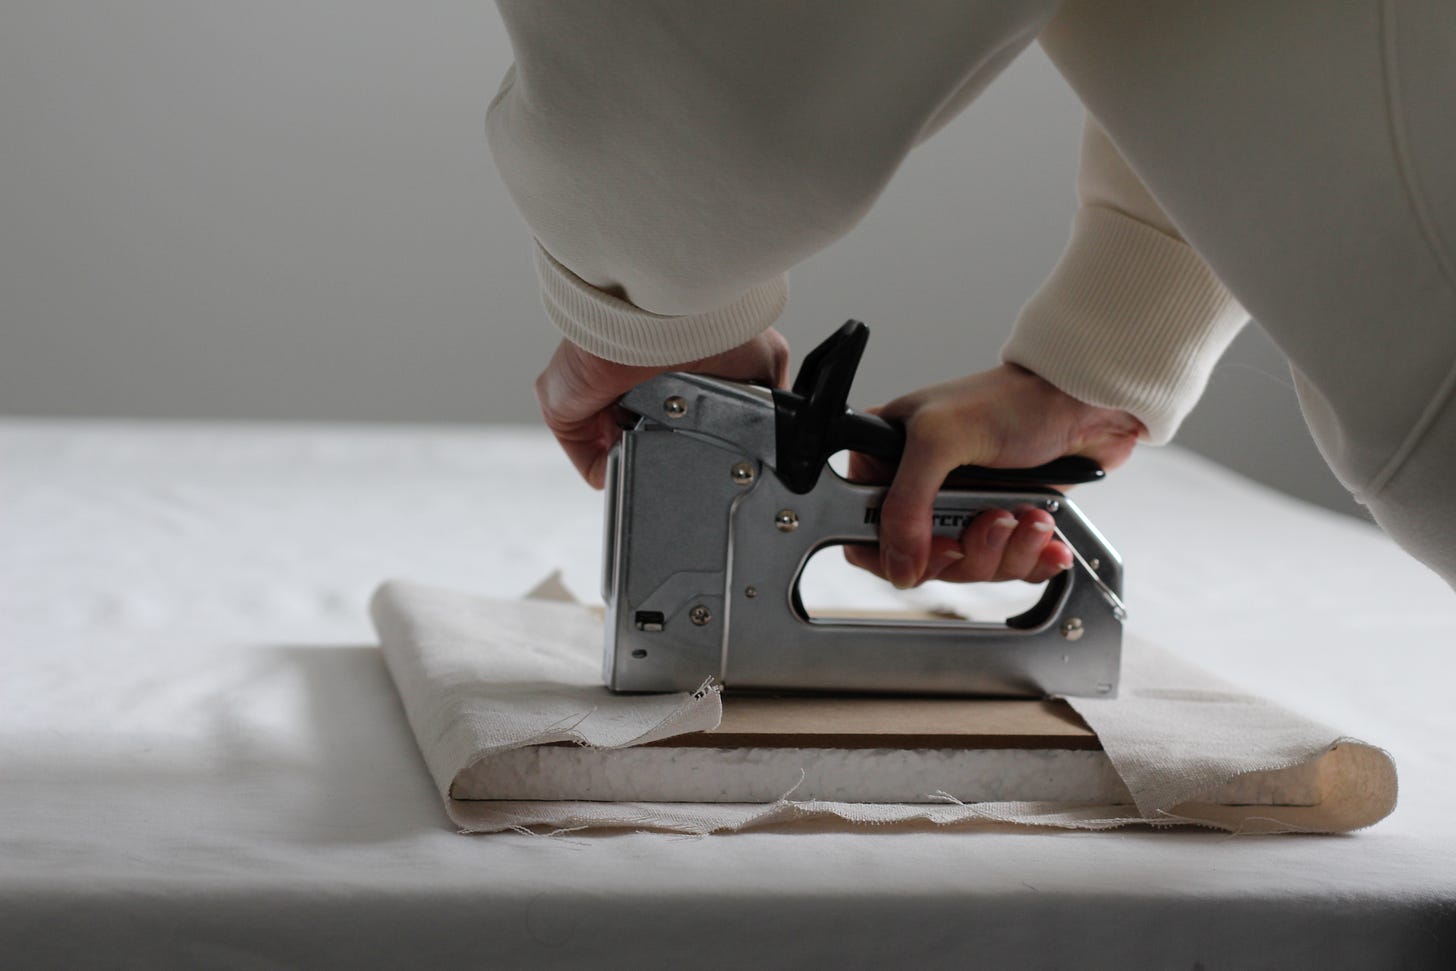
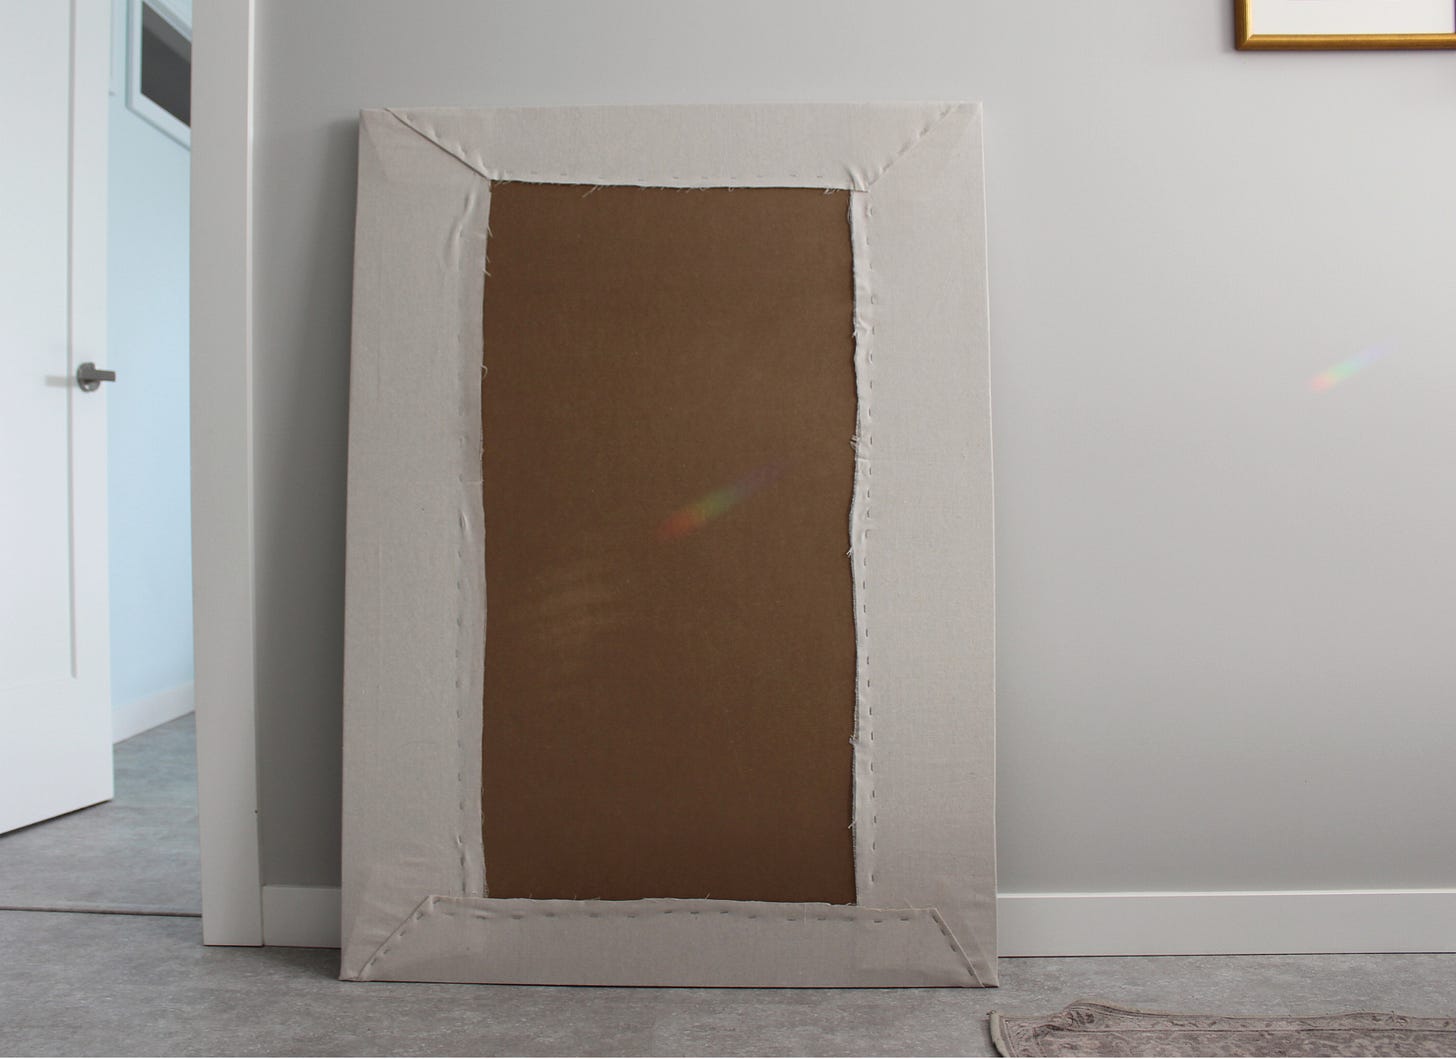
Put the foam face down on the ironed canvas. Pull it tight and staple the canvas directly into the particle board. Spend extra time folding the corners to get a nice clean look.
You can use fabric tape to seal the raw canvas edges to your board—creating a classy and professional look (I just left it as-is since nobody will see this side). Hang the finished product with screws or command strips.
Now for the fun part…
Magazines are probably the easiest and most readily available. Look for articles with individuals you find inspiring or themed editions (interiors/design week). Hit up the second hand stores in your area—sometimes people with subscriptions to The New Yorker and AD will drop off a bunch and you can totally score!
Visit used book stores to find museum art collections, fashion/design books, or photography and coffee table hardcovers. Anything you’re willing to rip the pages out of (trust me, it’s satisfying!). This is one of my favourite ways to get great quality art images.
Printing out photos at your local print shop will give you exactly the images you want. Think: meaningful events, heirloom family portraits, Unsplash downloads, Pinterest images, stills from your favourite films, and objects of desire.
Add some texture by picking up paint or fabric swatches in your favourite colours and patterns.
Make it personal by including notes, birthday cards, poems, or small gifts from loved ones (dried botanicals). Anything that brings you joy to look at.
Pick an inspiring pin to use. I went with seamstress pins because they are so thin you almost can’t see them. Other nice options include: gold thumb tacks, white/pearl pins, black pins, or wooden tacks.
I feel like I could put together an ‘I Spy Treasure Hunt’ for this board. Can you spot: Trent Crimm, somewhere in Northern Italy, Degas’ Dancers, my Grandmother, a stack of cash, our wedding day, The Birth of Venus, & Bella Baxter?
Looking at this collection of images brings me so much joy. It’s brightened up my whole office and really changed the mood of the room. Thank you so much for reading and as always, I would love to hear from you.
What’s your experience like with mood/vision boarding?
Do you prefer digital or physical collaging?
Where do you source your favourite images?


This was so fun to read after my computer screen sneak peek last night! I’ve also always been a collage girl since childhood and my first year college roommate, and I collaged each side of our dorm room walls with magazine,cutouts. I think that’s why I like mixed media so much when I paint! Your board looks elegant and I might have to make a slightly smaller version of this over the summer!
Teaching me things about Canva ✔️
Nostalgia for my collages as a teen✔️
Up-leveled this concept for me 40-fold ✔️
I’m 1,000% doing this. What a wonderful idea and thank you for all the thought you put in to breaking it down for us 💜💜